|
Note: The Handwritten Notes are only available for models with handwriting functions.
|
In this article, you will learn more about the interface and tools of the Handwritten Notes.
Top Toolbar
Full Screen
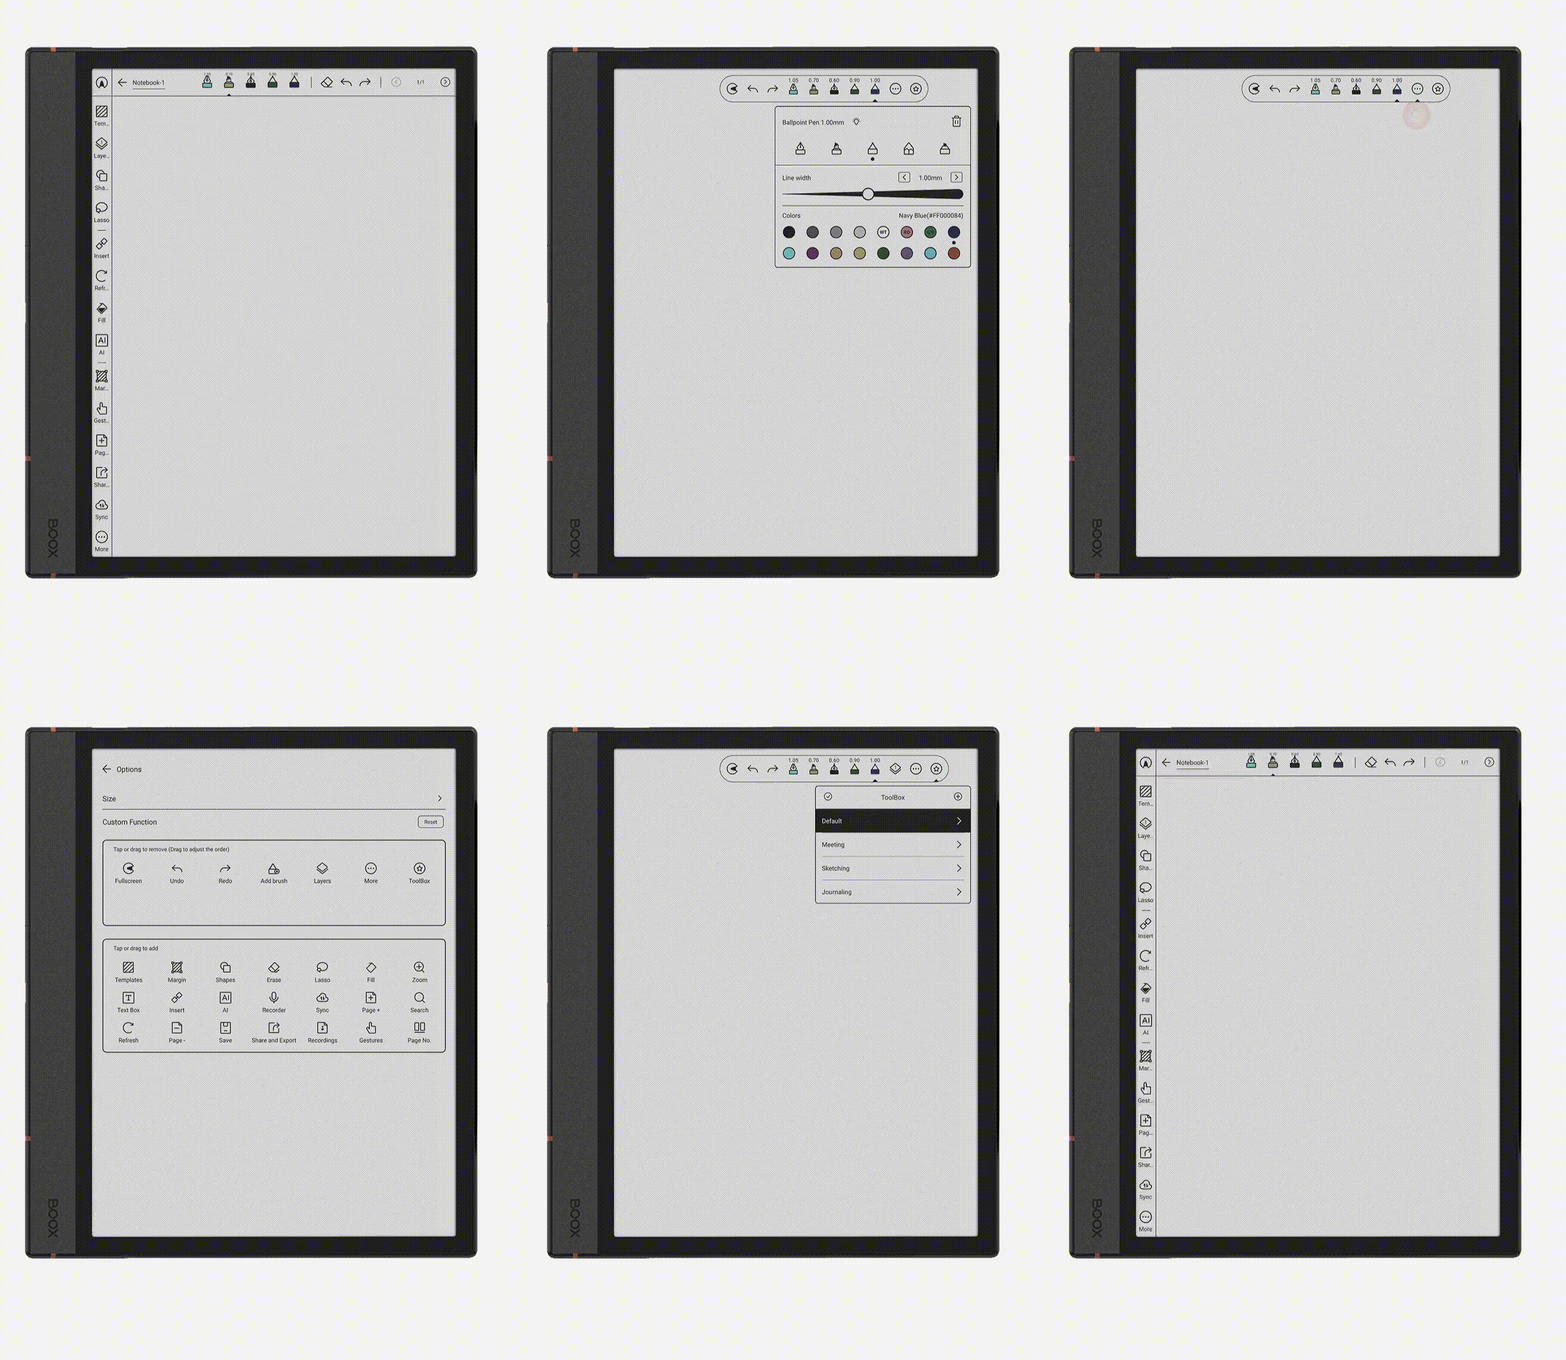
Note Toolbox: Tap the Full Screen button to access the Full Screen Mode with the Floating Toolbar. The Floating Toolbar contains some quick tools, including the brushes, undo/redo tools, etc. You can customize the Floating Toolbar by tapping More > Customize Toolbar. Here you can add or remove tools in the Floating Toolbar, check the description of each tool, or customize other settings.
In Firmware V4.1, we’ve enhanced the full-screen note-taking experience with a streamlined and customizable Note ToolBox. Users can now easily toggle between brushes or tools preset for different scenarios.
Exit
Here you can save your note and return to the Notepad View.
Rename / Open
Here you can change the file name of your note or open another note.
Brushes
Here you can add up to 5 brushes and switch between them during note-taking. To customize the brush, you can add a new brush or tap the current brush again when it is selected. Then you can choose the brush type, color, and line width based on your preference, or delete the current brush by tapping the Delete button in the upper right corner.
Eraser
Here, you can erase your notes using various eraser tools. To switch between different Eraser tools, tap the Eraser button again when the Eraser tool is selected.
Pixel Eraser: You can select the size of the eraser and drag through the area you want to erase.
Stroke Eraser: You can erase the whole stroke while dragging through the area. This is useful especially when you are erasing your scribble.
Lasso Eraser: You can select the area you want to erase like the Lasso tool.
Erase current layer: Turns the current layer to blank.
Erase all layers: Turns all layers to blank except the template layer.
Undo & Redo
Here you can tap the Undo button to move one step back, or tap the Redo button to move one step forward.
Page Selector
Here you can switch between the pages in your note or quickly add pages by tapping the Next Page button.
Page Manager
Here you can switch between Sidebar View and Full-Screen View. The former allows you to check content quickly, while the latter enables you to copy, move, or delete pages.
Thumbnails: Displays notes as thumbnails for quick browsing.
Outline: Set a page as an outline or sub-outline to form a hierarchical structure.
Tag: Displays tags you created to improve note management efficiency.
Sidebar
Templates
Here you can customize the background template and adjust the template settings.
Layers
Here you can customize the background template, add up to 5 new layers, show, hide, delete or rearrange the layers.
Margins
You can double the width, double the height, expand fourfold, or manually adjust margins to optimize your layout.
Shapes
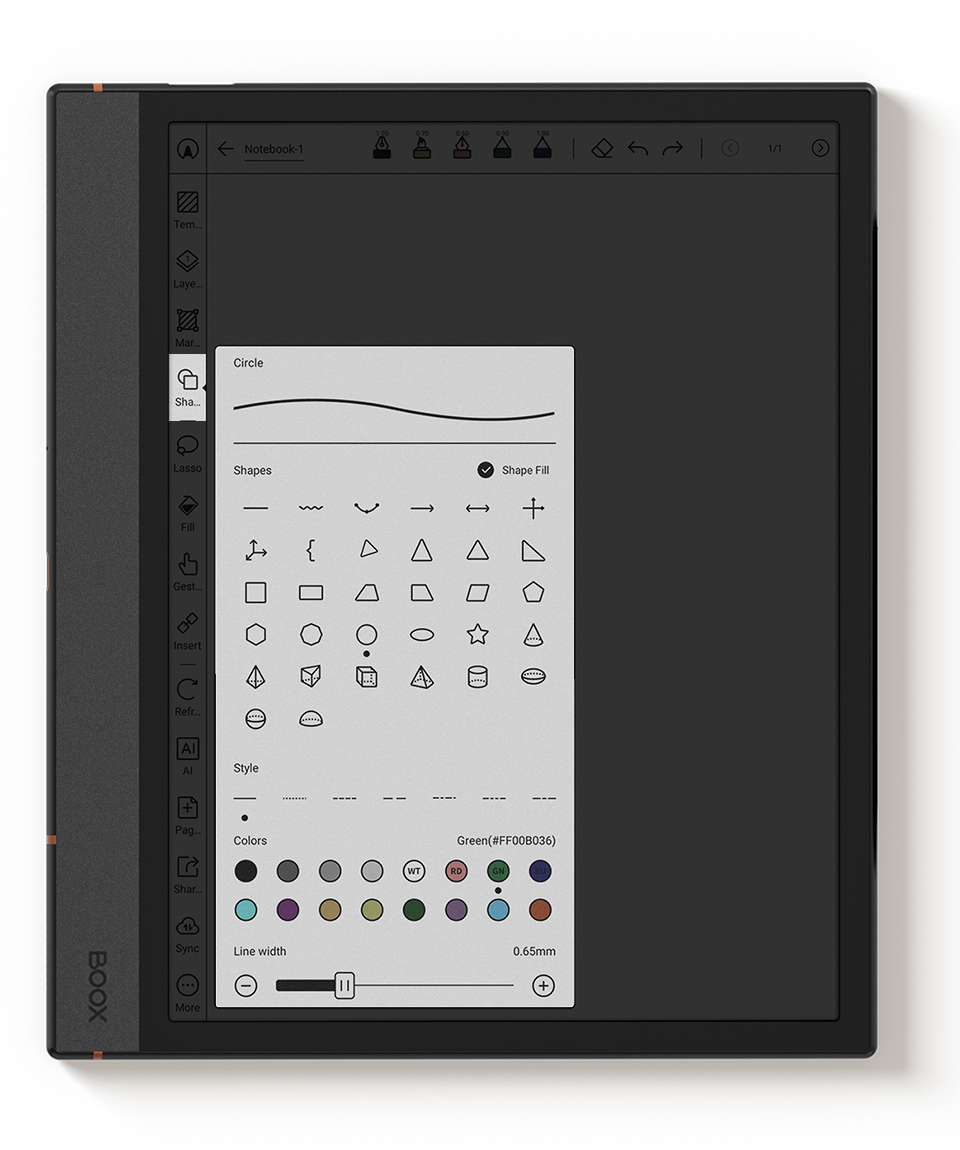
Here you can create different shapes and change the color and line width. You can long-press it to select and then adjust it.
Lasso
The lasso tool features a floating, follow-along toolbar. You can use the Lasso tool to select an area for further editing of notes and images, or
adding a tag immediately.
Smart Lasso: Recognize and automatically select characters or images according to the outline. By tapping the AI icon on the top right corner, your handwritten notes can be converted into text notes and the text contained in images can be recognized.
Free Lasso: Select the exact area that you have outlined for more flexible editing.
Here you can use the Lasso tool to select an area to take further actions, including adding a tag. Please refer to the
Tag System page for more info.
Fill
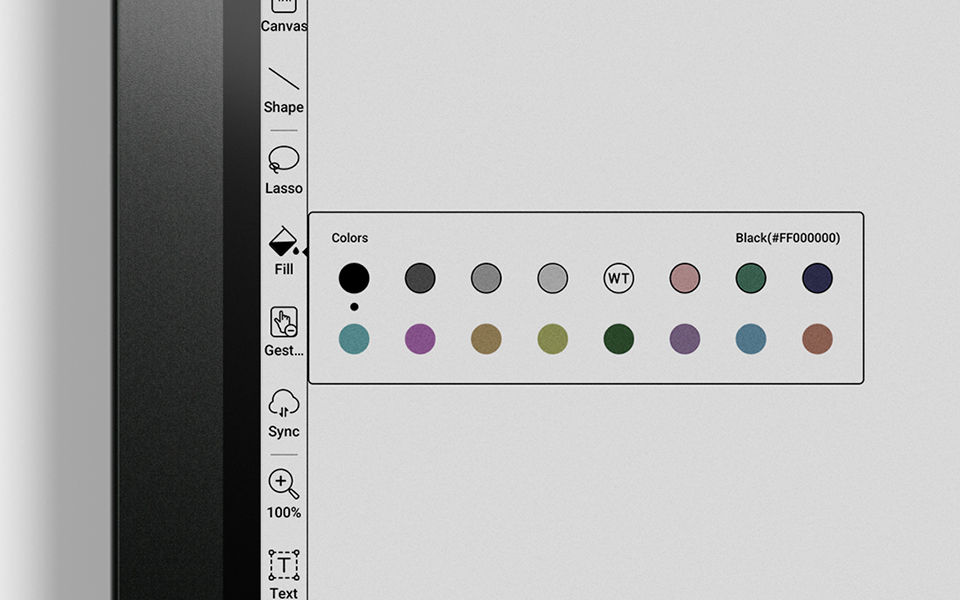
Use this tool to fill the shapes you draw with colors. Make your notes more engaging and unleash your creativity.
Gestures
Here, you can enable/disable various gesture settings to avoid accidental touches by the palm or finger.
Sync
Here you can sync your notes to the cloud after logging in to your ONYX account.
Zoom
Here you can use different Zoom tools to adjust the magnification.
Zoom In / Zoom Out: Changes the magnification by preset levels.
Free Zoom-in: You can drag a rectangle around a portion of the page that you want to fill the viewing area.
Pinch-to-Zoom: Enables/disables the pinch-to-zoom gesture. (Please also make sure the Finger Touch function is enabled when using this function.)
Fit to Screen: Adjusts the magnification so that the screen includes all content of the canvas.
Fit to Width: Adjusts the magnification so that the canvas fits the width of the screen.
Fit to Height: Adjusts the magnification so that the canvas fits the height of the screen.
Fit to Canvas: Resets the magnification to 100%.
You can also drag the slider to adjust the magnification directly.
When the canvas exceeds the display area after zooming, you can drag the window in the upper right corner to pan around the nearby area.
Text Box
Here, you can type in and adjust the style of the text in an automatically created text box.
Insert
Here you can choose to insert images, attachments, links to notes, files or websites, and timestamps.
Images: Here you can insert images from the local storage. Tap the Crop icon, you can remove the unwanted area of the image, and tap the AI icon, text contained in images will be recognized.
Attachments: Here you can insert attachments no larger than 20MB from the local storage.
Link to Notes: It allows you to quickly switch back and forth between notepads or different pages. And you can see history by long-pressing the curved arrow icon on the top menu. It's convenient when you need references or reminders and it helps you to better organize your knowledge.
Link to Files: Here you can insert a link to a file or a specific page of a file.
Link to Websites: Here you can insert an external link to a website.
Timestamp: You can insert different types of timestamps into your notes.
AI Smart Scribe
AI Smart Scribe enables you to handwrite notes in a smarter way. To enable Smart Scribe, tap the AI icon on the Sidebar to discover all the new features.
Shape Perfection: Draw a perfect circle, rectangle, triangle, or straight line. Remember to finish the shape with one stroke and pause for 1 second before lifting your stylus.
Strikethrough Erase: Draw a wavy line to erase unwanted notes or shapes. Remember to cover the unwanted content as much as possible for complete deletion. To avoid unintended erasing, with firmware V3.5.1, Strikethrough Erase will be disabled when you are using Markers.
Lasso Recognition: A lasso will be generated when you circle or frame your notes. You can tap the blank area to undo the recognition.
Text Recognition: Convert your handwritten notes to text. You can edit, copy, share, or insert them into your notepad.
To recognize other languages, tap the language button>More languages, and then download your preferred language packages.
Note: AI Smart Scribe is only available in some models.
|
Page+
Here you can choose where to add the new page, select a template, and specify its creation source.
From Another Notebook: Add a new page based on one specific page from another notebook.
From Images: Add a new page based on an image.
From Files: Add a new page based on files and the hyperlinks of PDFs are clickable for direct navigation.
More
Here you can find more tools for Handwritten Notes or customize the toolbar..
Search: Here you can search your scribble or text for a specific keyword.
Refresh: Performs a full refresh if you find the ghosting accumulates too much.
Page-: Deletes the current page. Please consider carefully, as this action cannot be undone.
Save: Saves the note manually.
Share and Export: Here you can export the file to PNG/PDF/.note format and share the note with others.
Recorder: Here, you can create an audio recording with the microphone. Then the recording icon will be displayed on your canvas. You can add marks to flag your significant moments, play it back, hold and drag to move the recording icon, or go to More > Recordings to manage or export them.
Recordings: Here you can rename, manage, or export your recordings.
Toolbar Position: Changes the sidebar position to suit your handedness.
Customize Toolbar: Here you can add or remove tools in the sidebar, or enable/disable text display below each icon.
Note: The built-in microphone is not available for all models.
|
FreeMark
FreeMark is a system-wide handwriting tool that allows you to jot down quick notes, make annotations, and sketch ideas on any screen.
1. Swipe down from the top right corner to open the Control Center. Tap the FreeMark icon.
2. Name the save path (or leave it as the default) and tap "OK".
3. Then you'll get into "Mark mode" and the toolbar will appear.
4. When you finish your notes, tap the "Save" icon and check the picture in the "Gallery" app.
|
Note: FreeMark is disabled in the NeoReader and Notes app. |
Infinite Notes
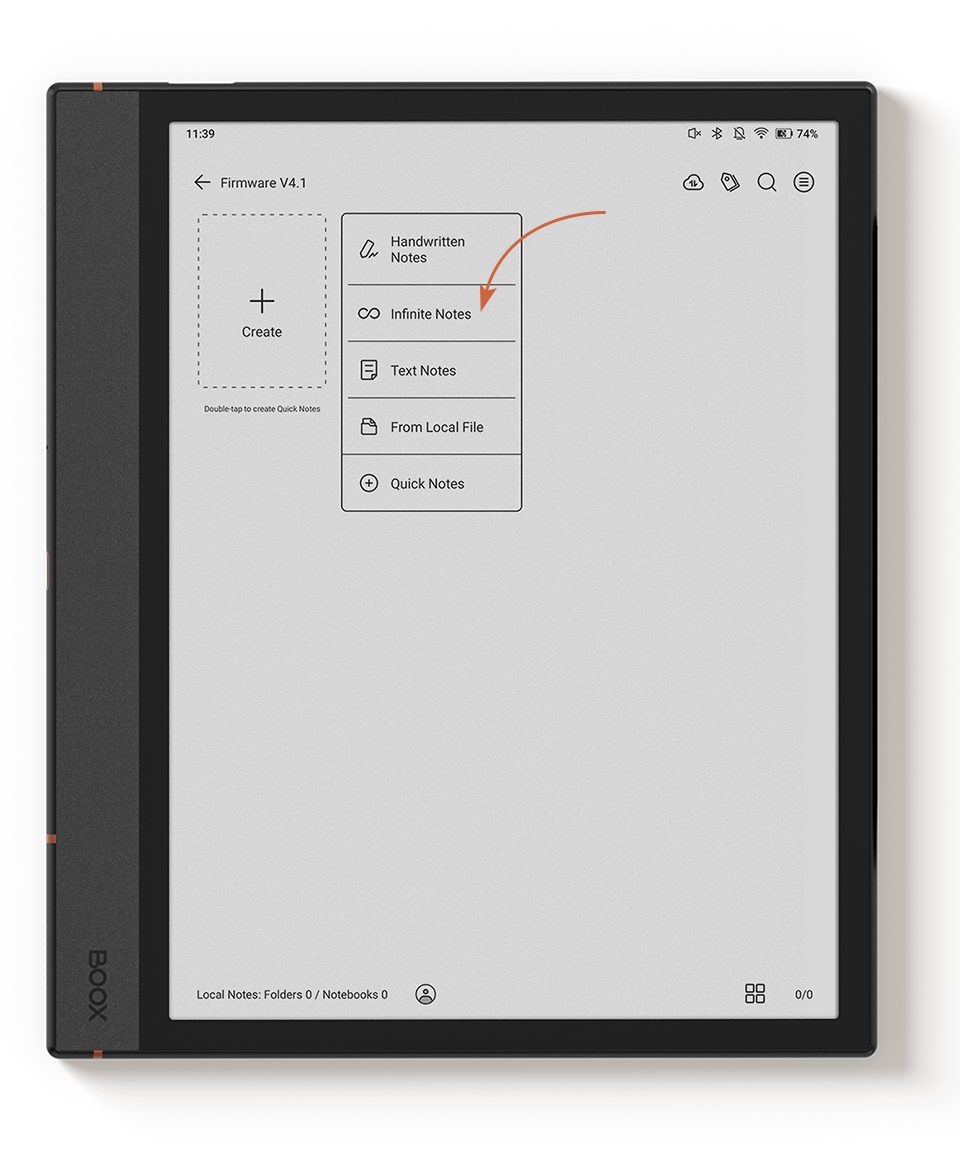
Our native Notes app in Firmware V4.1 brings a new “Infinite Notes” option when creating a note. In an Infinite Note, the canvas automatically expands as you write, giving you unlimited and flexible space to work. You can drag the canvas with two fingers.
Templates: All five built-in templates also support infinite canvas expansion.
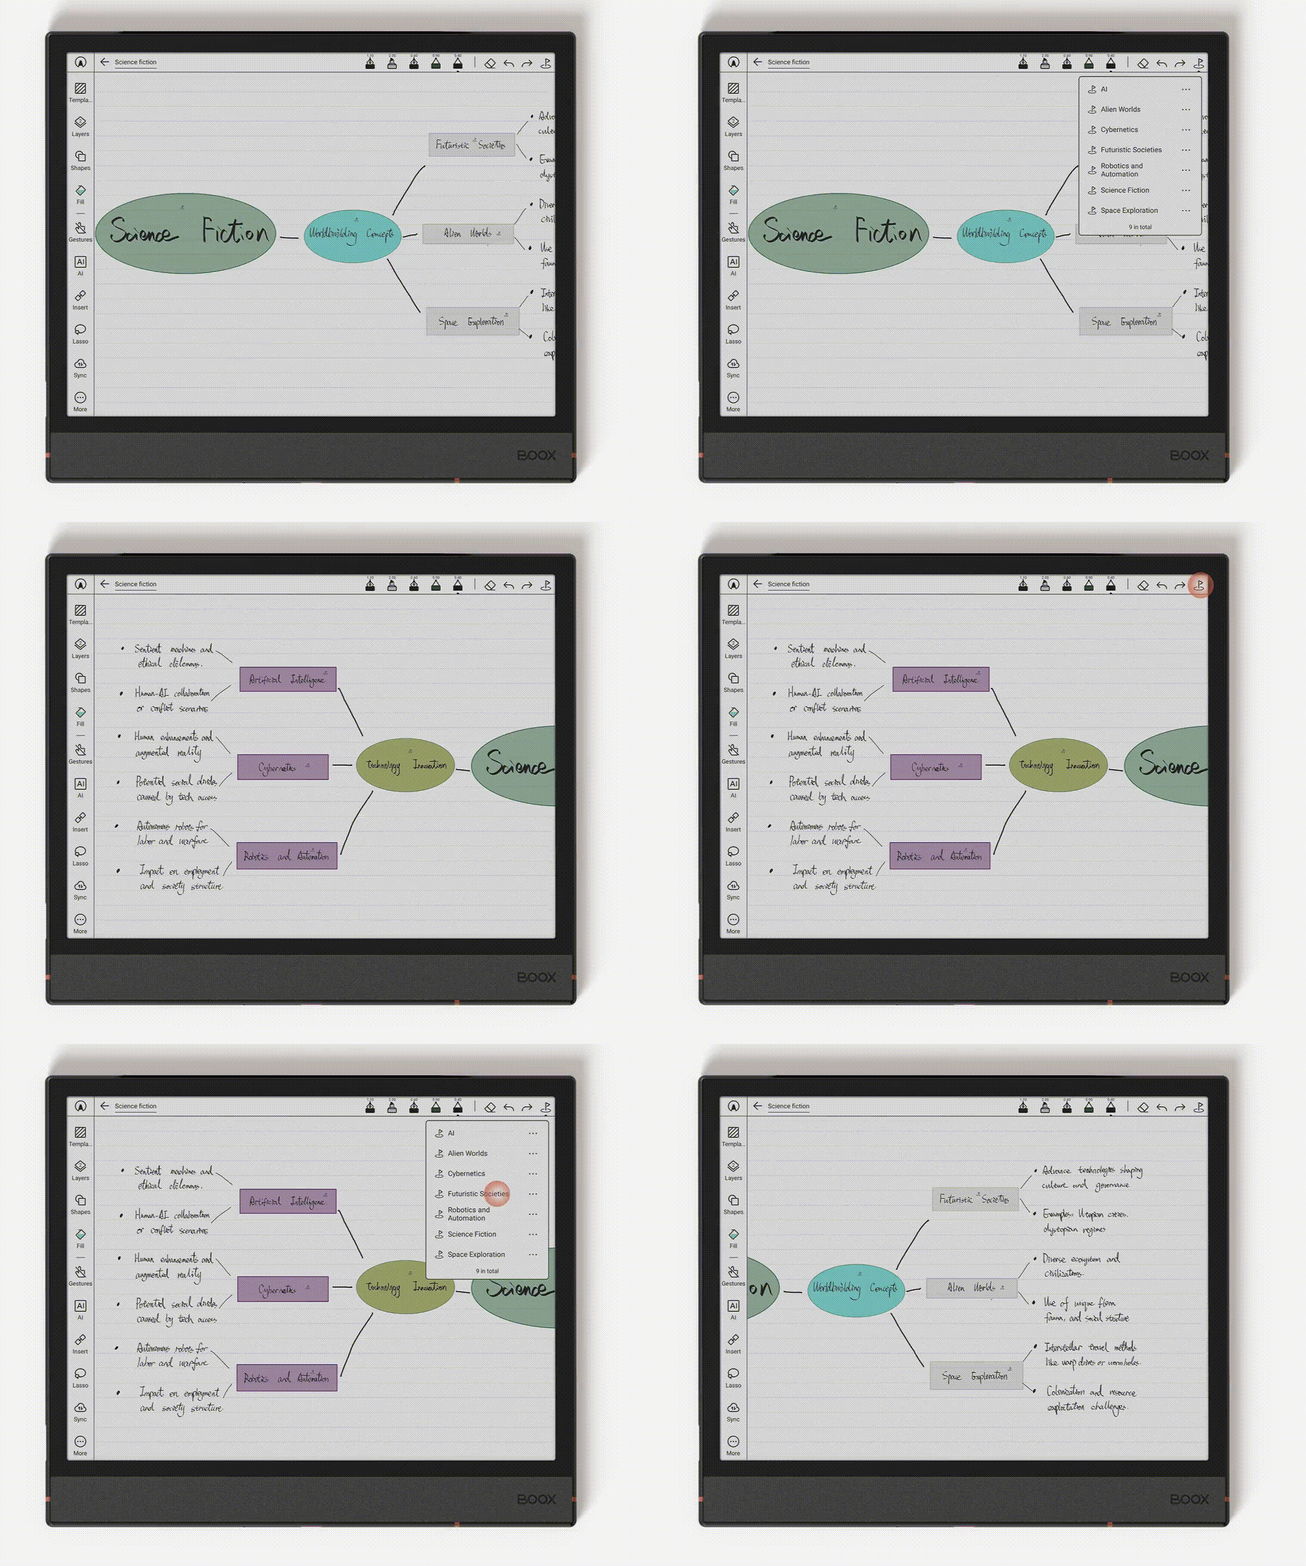
Pin: Long-press the blank area to add pins anywhere on the canvas. You can quickly jump between different sections, ideal for long, complex notes or mind maps. Delete or rename each pin by tapping the three-dot icon behind the pin you want to edit.
